Showit Setup
Requirements
You will need…
- A Showit subscription (basic tier is sufficient)
- Access to the Showit site dashboard
- The ability to copy and paste code snippets
- Your Goodshuffle Website Integration public browser key
Overview
These are the high-level steps:
- Activate your Website Integration.
- Add HTML code snippets to your page's header.
- Create a page for the basic gallery and embed an HTML code snippet.
This document will guide you through setting up a basic Website Integration on a Showit site, but more customization will likely be desired. This customization is intuitive thanks to Showit's easy to use drag-and-drop interface.
We encourage you to experiment with personalizing your site after running through these basic setup instructions.
Walk-Through
Activation
If you'd prefer to follow along with a video tutorial, we have one available here!
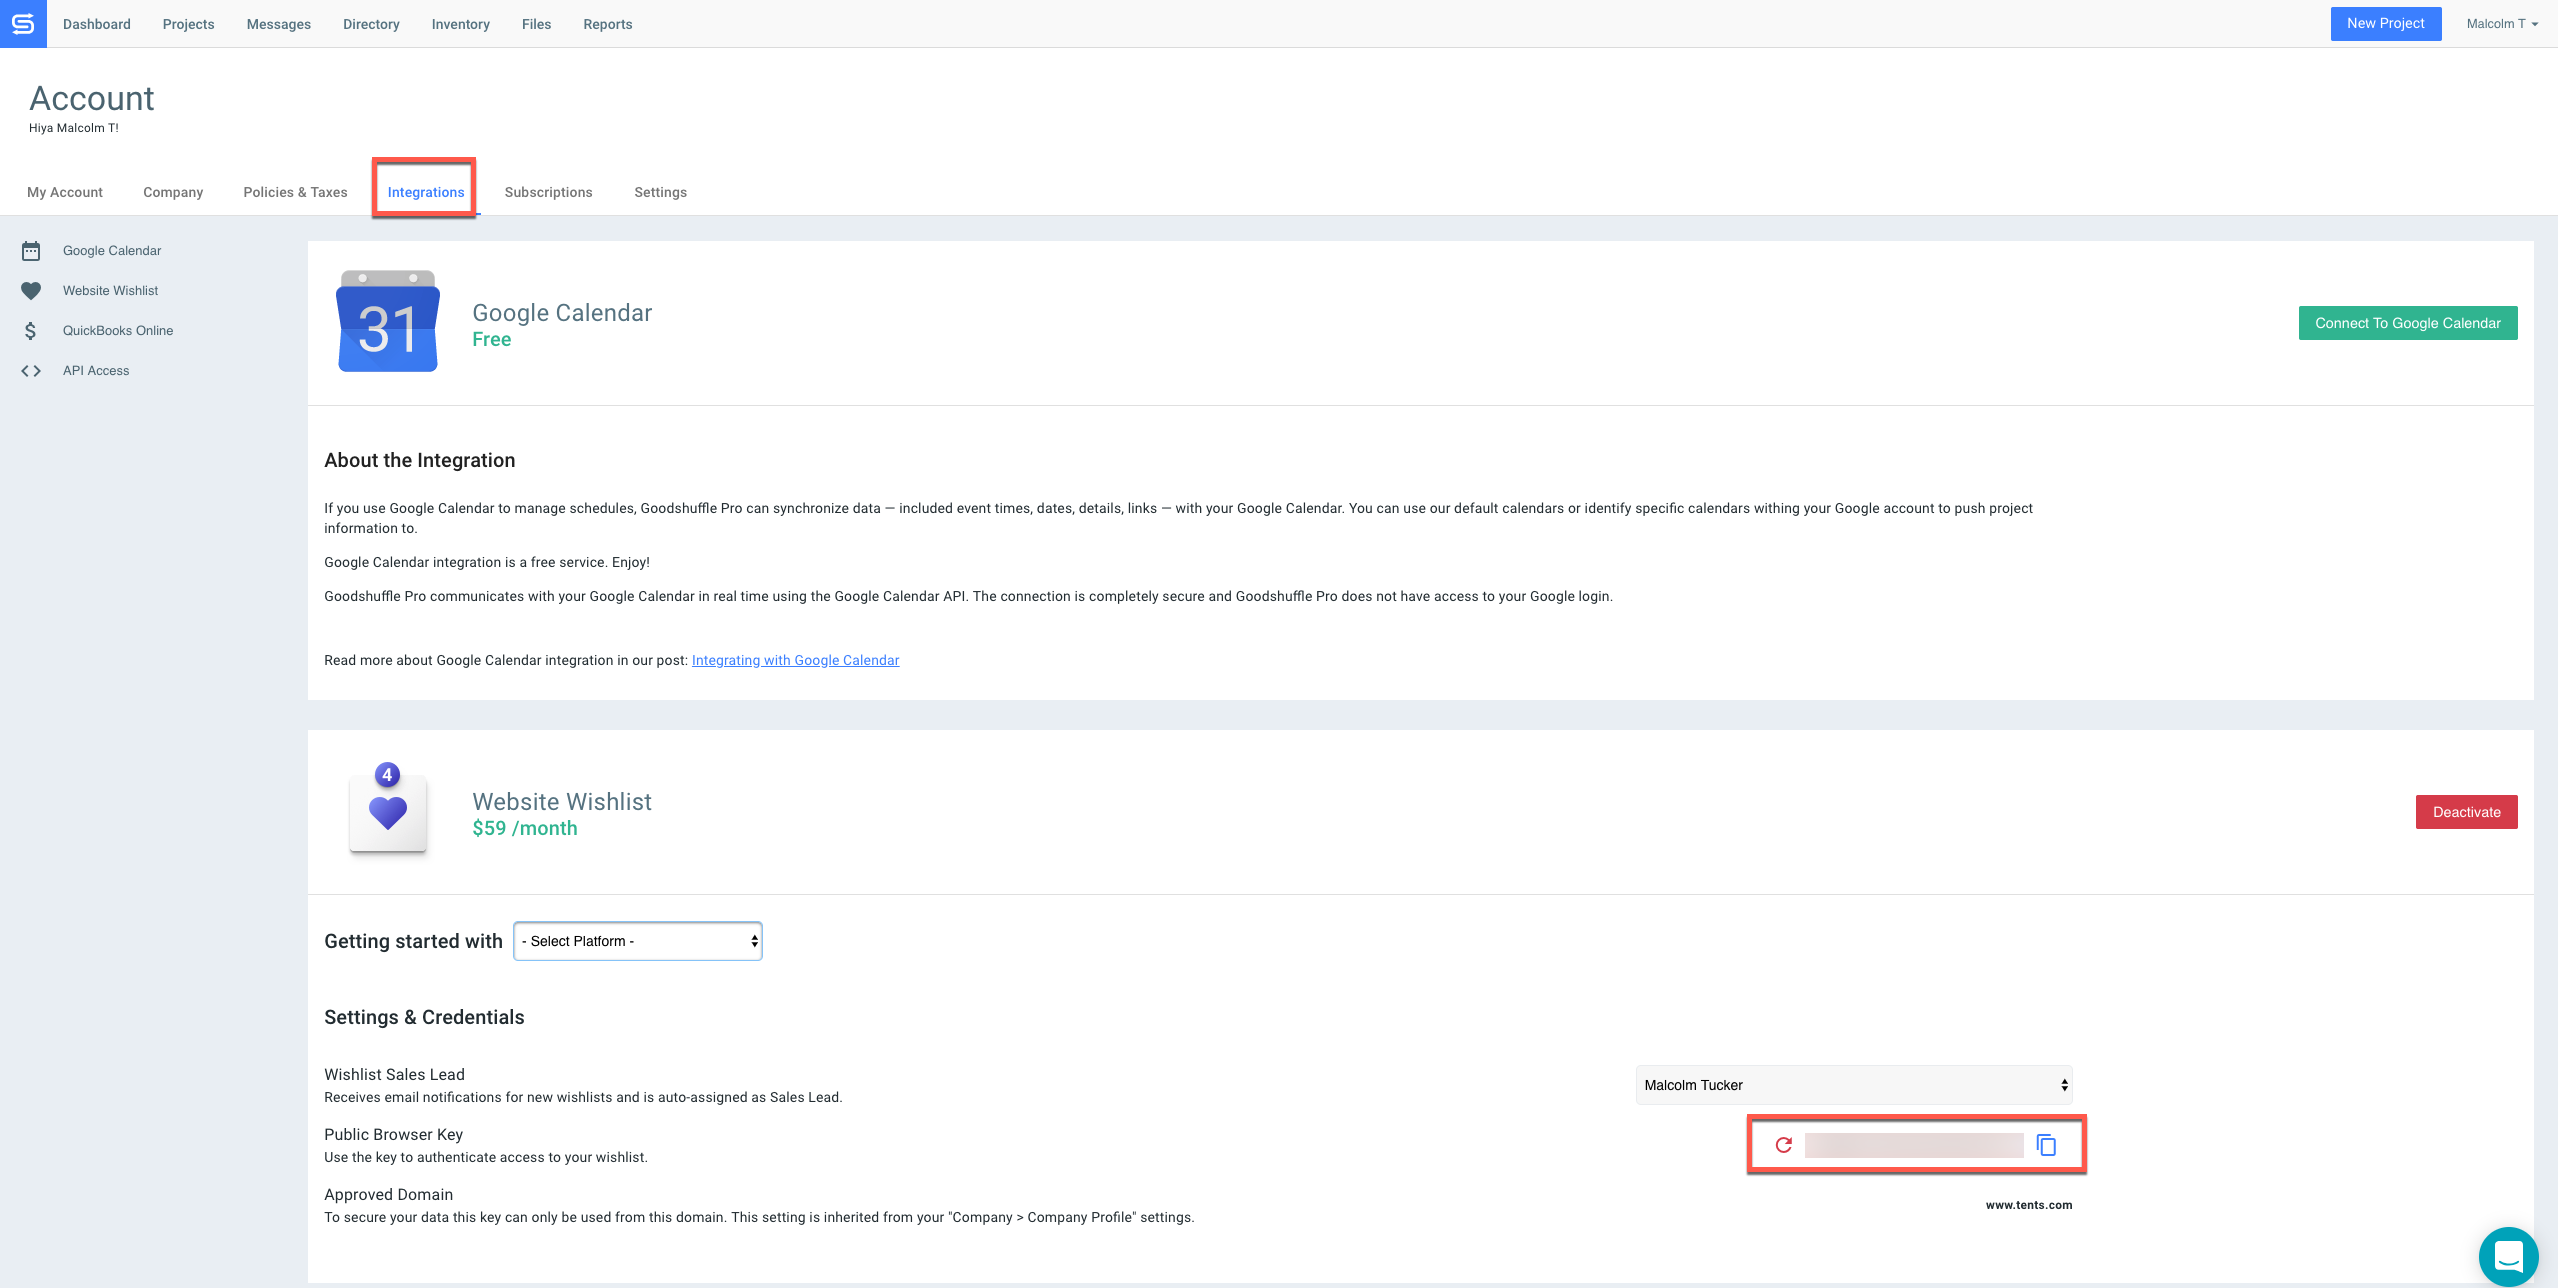
You can do this from the Integrations Tab of your account. Copy the “Public Browser Key” on this screen for subsequent use.
Inject in Page Header
To inject code in your page header, you will need to inject code into your site's “Header” Canvas by following the steps below:
- Go to the Site Canvases menu (under the Site tab of the lefthand menu)
- Select the Header Canvas (if this is not a brand new Showit site, your header may be named something different)
- Click inside the Header on your page so that you are editing the Header Canvas
- Click on the middle button of the button grouping at the bottom of the page (shown in the image below)

- Select Embed Code
- Double click on the black box that appears on the header
- Paste the below code snippet into the box:
<script type="module" src="https://unpkg.com/@goodshuffle/[email protected]/dist/gspro-wc/gspro-wc.esm.js"></script>
<script nomodule="" src="https://unpkg.com/@goodshuffle/[email protected]/dist/gspro-wc/gspro-wc.js"></script>
<gspro-wishlist-config
    data-url="https://data.goodshuffle.com/vendor/YOUR-PUBLIC-WEBSITE-KEY"
></gspro-wishlist-config>
PLEASE NOTE! You need to replace the text YOUR-PUBLIC-WEBSITE-KEY below with your Public Browser Key from Goodshuffle Pro (retrieved in the Activation step above).
- Click Save
- Your Website Integration is now installed on your site
- Proceed to the next section
Previous versions of the Website Integration also required footer code. Some of our tutorial resources may still reference a footer, but if you are on version 0.5.0 or later of the Website Integration you can safely ignore the footer setup.
Add a Gallery to the Page
Head to the Page tab:
- Click the three dots to the right of the page name
- Select Add Blank Canvas
- Double click New Canvas and rename to “Gallery”
- Click on the Gallery Canvas
- Click inside the page on the blue button labelled “Gallery”
- Give this new Gallery Canvas a height of 3000px on the right side of the screen on both Mobile AND Desktop tabs.
- Embed HTML. This is exactly the same as the process described in the ‘Inject in Page Header’ step above
- Paste the following snippet into the popup:
<gspro-item-gallery></gspro-item-gallery>
- Make sure to resize your gallery iframe to fit your page. You can either drag and drop the corners of the blue box containing your gallery, or change the numerical values on the right side of the screen.
- Save and publish your changes.
That's it!