Weebly Setup
Requirements
You will need…
- A Weebly website
- Your login credentials for the Weebly website
- The ability to copy and paste code-snippets.
Overview
These are the high-level steps:
- Activate your Website Integration.
- Add HTML code snippets to your site's header.
- Add custom CSS to your site's design.
- Create a page for the basic gallery and embed an HTML code snippet.
Walk-Through
Activation
If you'd prefer to follow along with a video tutorial, we have one available here!
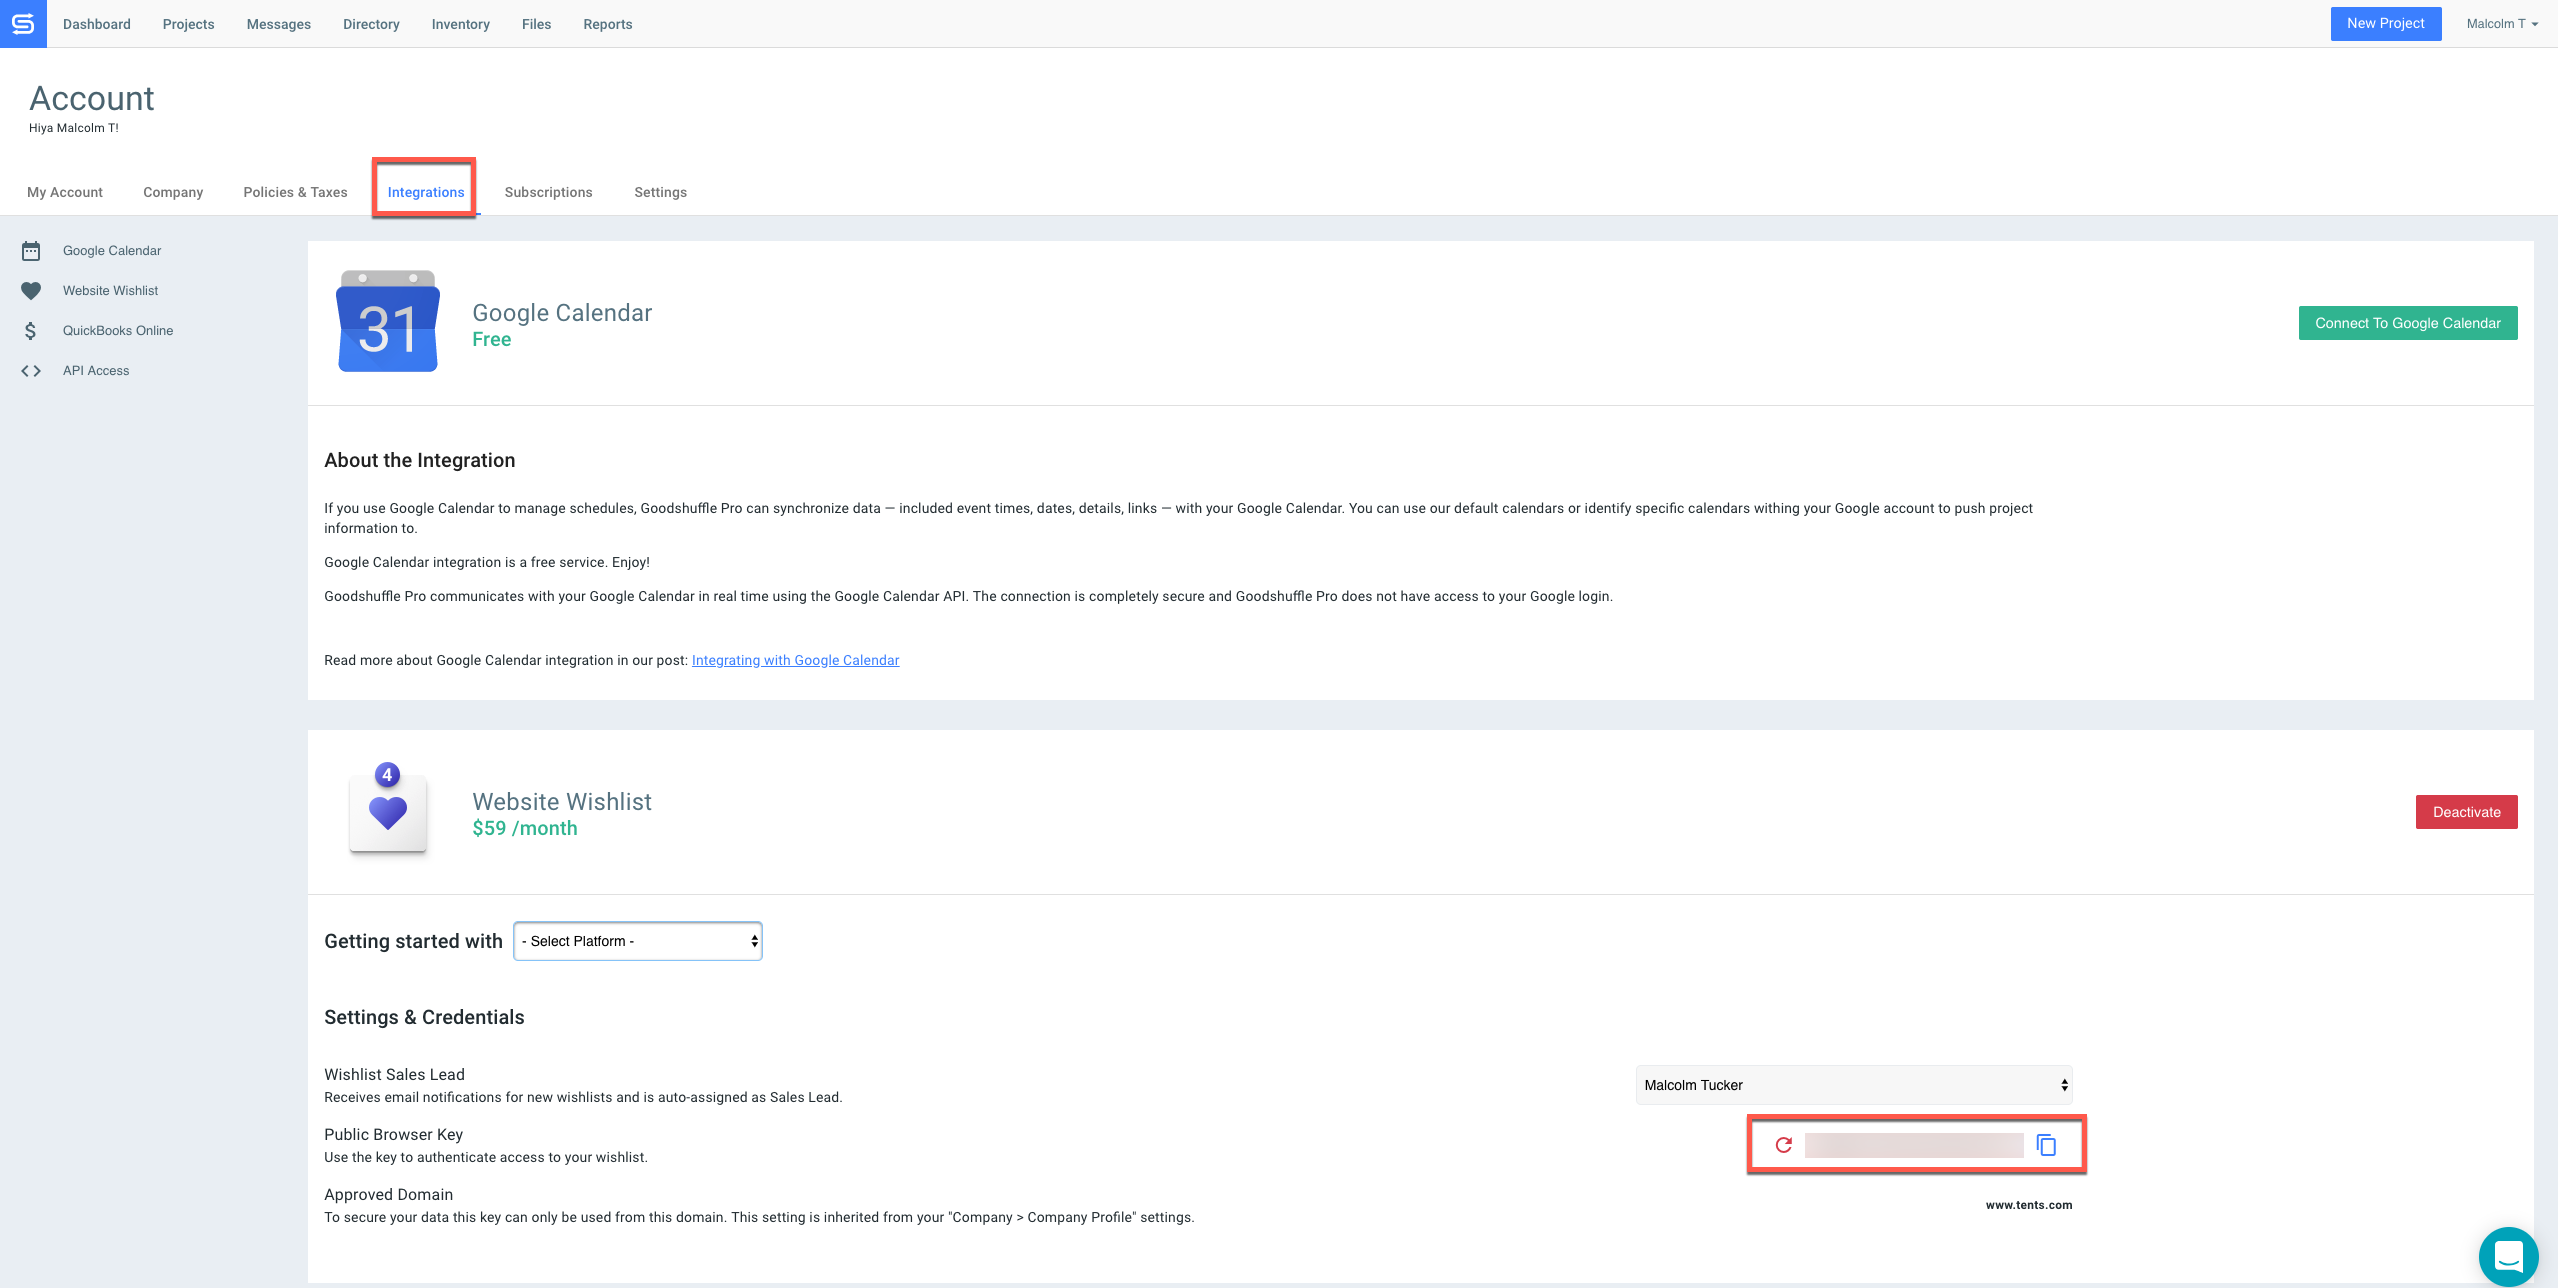
You can do this from the Integration Tab of your account. Copy the “Public Browser Key” on this screen for subsequent use.
Inject in Site Header
Add Custom Header Code
- Go to your Weebly Site Editor
- Click the button that says “Settings” on the top toolbar
- Click on the tab marked “SEO” on the left side of the screen
- Scroll down to the section labelled “Header Code”
- Paste the following snippet into that box
PLEASE NOTE! You need to replace the text YOUR-PUBLIC-WEBSITE-KEY below with your Public Browser Key from Goodshuffle Pro (retrieved in the Activation step above).
<script type="module" src="https://unpkg.com/@goodshuffle/[email protected]/dist/gspro-wc/gspro-wc.esm.js"></script>
<script nomodule="" src="https://unpkg.com/@goodshuffle/[email protected]/dist/gspro-wc/gspro-wc.js"></script>
<gspro-wishlist-config
    data-url="https://data.goodshuffle.com/vendor/YOUR-PUBLIC-WEBSITE-KEY"
></gspro-wishlist-config>
Previous versions of the Website Integration also required footer code. Some of our tutorial resources may still reference a footer, but if you are on version 0.5.0 or later of the Website Integration you can safely ignore the footer setup.
Create a Gallery Page
- From the top menu, click “Pages”
- Click the “+” icon next to Pages to create a new page
- Select Standard Page
- Give your page a name, such as “Rentals”
- From the top menu, click “Build”
- Drag the button that says “Embed Code” into the page section labelled “Drag Elements Here”
- Click where it says “Click to set custom HTML”
- Click “Edit Custom HTML” on the popup that appears
- Paste the following snippet into the box
<gspro-item-gallery></gspro-item-gallery>
Make sure to publish your changes!
All Set!
You should now have a basic page that displays a list of relevant categories/subcategories and your inventory.